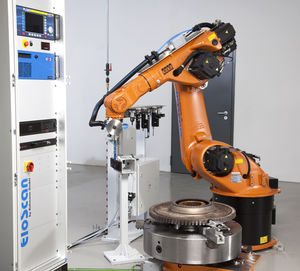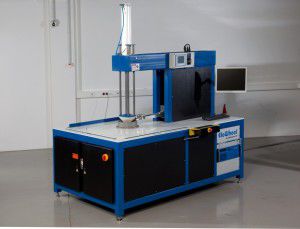
Eddy current crack detector for aeronautics
Add to favorites
Compare this product
Characteristics
- Technology
- eddy current
- Applications
- for aeronautics
Description
Crack detection under the lacquer coat. Concealed in the MR3/MF mini-rotor, an assessment track of 30 mm is covered by the RSMT disc probe. The mini-rotor is positioned in the AMT guide so that the disc probe rotates approximately 0.1 mm above the surface of the blade. The blade curvature can allow changes in distance of up to 0.3 mm for this. These are suppressed by the filter adjustment and the calibration at different distances. The high number of rotations of 2,800 rotations per minute enables a rapid inspection of flat and peneplain blade areas to be carried out. The YT display on the M3 display shows a rotation of the probe and thereby enables the location of the defect to be precisely determined. The calibration was carried out using test piece TP1, underside, aluminum, reference defect = 0.1 mm wide and 0.5 mm deep.
Catalogs
No catalogs are available for this product.
See all of Rohmann GmbH‘s catalogsRelated Searches
- Tester
- Aeronautical tester
- Inspection system
- Inspection machine for the aeronautical industry
- Surface inspection system
- Digital tester
- Automatic inspection system
- Material tester
- Aeronautic crack detector
- Crack detector
- Aircraft engine inspection system
- Eddy current tester
- Eddy current crack detector
- Eddy current inspection machine
*Prices are pre-tax. They exclude delivery charges and customs duties and do not include additional charges for installation or activation options. Prices are indicative only and may vary by country, with changes to the cost of raw materials and exchange rates.


