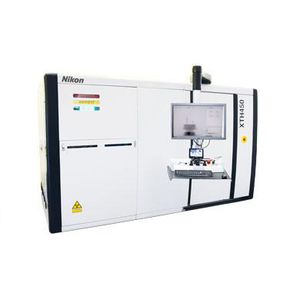
Mechanical coordinate measuring machine VMZ-S6555for aeronautics

Add to favorites
Compare this product
Characteristics
- Probe type
- mechanical
- Other characteristics
- for aeronautics
- X travel
650 mm
(25.59 in)- Y travel
550 mm
(21.65 in)- Z travel
200 mm
(7.87 in)
Description
Reaching the peak of video measurement within a compact system. Nikon’s excellent optics give high accuracy and repeatability across the field of view, increasing speed of measurement. VMZ-6555 offers a 650 x 550 x 200 (X x Y x Z)mm stroke suitable for measurement of small semiconductor, electronic and mechanical components.
With the growth of self-driving car sensor technology alongside the full EV market of automotive industry, the number of electronic components required and installed are greatly increasing. Strict quality control is required for these critical components and so expectations for shop floor measuring equipment is getting higher.
Nikon provides the "NEXIV VMZ-S" series suitable for measuring these challenging applications.
Accuracy within FOV (PF2D,PFV2D) is specified. Nikon designed optics deliver high-quality images and realize accurate measurement data.
Proving error* PF2D0.8µm
Type2 zooming head. Determined by Nikon’s in-house measurement method. Measurement of the perimeter of a circular reference device. This involves stage movement so a video caliper tool within the FOV, is evenly placed at 25 points on the perimeter.
Probing error of the imaging probe* PFV2D 0.3 µm
*Type2 zooming head. Determined by Nikon’s in-house measurement method. Measurement of 25 points that are evenly placed on the perimeter of a circular reference device at one location on the screen (without stage movement).
Throughput has improved by realizing faster short-distance stage movements. This contributes to the shortening of the measurement time.
VIDEO
Catalogs
No catalogs are available for this product.
See all of Nikon‘s catalogsRelated Searches
- Inspection system
- Inspection machine for the aeronautical industry
- Laser scanner
- Aeronautic laser scanner
- Non-contact laser scanner
- CMM
- Aeronautic CMM
- X-ray inspection system
- NDT inspection system
- Optical CMM
- Automatic inspection system
- 3-axis laser scanner
- Material inspection machine
- Structure coordinate measuring machine
- CNC coordinate measuring machine
- Mechanical surface profiler
- NDT laser scanner
- CMM for the aerospace industry
- Non-contact CMM
- Aircraft engine inspection system
*Prices are pre-tax. They exclude delivery charges and customs duties and do not include additional charges for installation or activation options. Prices are indicative only and may vary by country, with changes to the cost of raw materials and exchange rates.


