
- Products
- Catalogs
- News & Trends
- Exhibitions
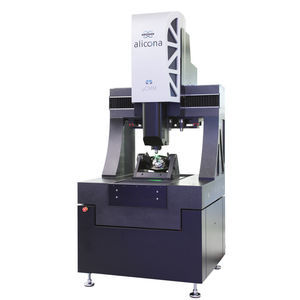
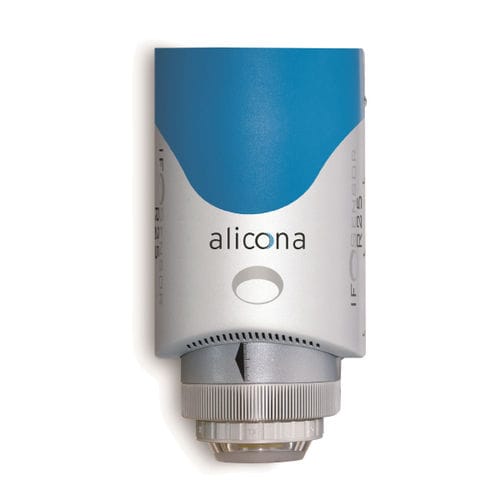
Optical coordinate measuring machine IF-SensorR25for aeronautics3D
Add to favorites
Compare this product
Characteristics
- Probe type
- optical
- Other characteristics
- for aeronautics, 3D
Description
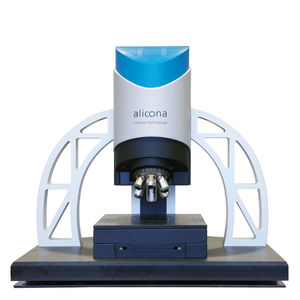
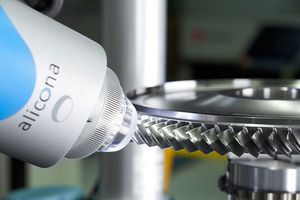
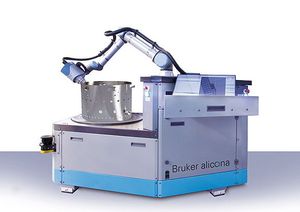
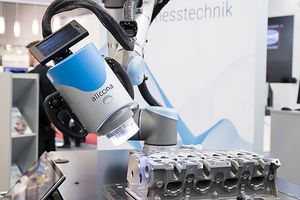
IF-SensorR25 is a solid optical 3D measurement instrument for automated form and roughness measurement in production. The optical measurement sensor is integrated into a production line and delivers high resolution, repeatable and traceable results when measuring surface characteristics in the μm or sub-μm range. Therefore, the IF-SensorR25 is a platform that enables the use of the same measurement process both in-line and in ameasurement laboratory. Standardized interfaces (e.g. QDAS) support an easy and quick integration into production allowing comparable measurements. In combination with a collaborative 6-axis robot, IF-SensorR25 is used as a collaborative system – “Cobot” – for flexible quality assurance and the measurement of microstructures on large components.
High measuring point density
Up to 500 million measurement points ensure a meticulously detailed measurement with tolerances in the μm and sub-μm range along with large working distance. The high measurement point density of Focus-Variation enables operators to gain a consistently high lateral and vertical resolution across high measurement volumes.
Measurement of steep flanks
Light coming from different directions is used to positively influence a measurement. The measurement of the maximum flank angle is not restricted by the numerical aperture of an objective. Depending on the surface users measure surfaces with slope angles up to 87°.
Varying surface reflections
SmartFlash allows high resolution measurements of materials with varying surface characteristics or reflectivity. Modulated light provides optimal illumination throughout the whole measurement area.
*Prices are pre-tax. They exclude delivery charges and customs duties and do not include additional charges for installation or activation options. Prices are indicative only and may vary by country, with changes to the cost of raw materials and exchange rates.

