- Production - Materials - Metrology >
- Test equipment - Metrology >
- Aircraft engine inspection machine
Aircraft engine inspection machines
{{product.productLabel}} {{product.model}}
{{#if product.featureValues}}{{product.productPrice.formattedPrice}} {{#if product.productPrice.priceType === "PRICE_RANGE" }} - {{product.productPrice.formattedPriceMax}} {{/if}}
{{#each product.specData:i}}
{{name}}: {{value}}
{{#i!=(product.specData.length-1)}}
{{/end}}
{{/each}}
{{{product.idpText}}}

Increase repeatability and accuracy when measuring engine components by integrating Vectro (leading automated non-contact measurement solution) into your quality control processes. Partnered with a cobot and turntable, ...

Our HeliFIS is the supplement to perform flight calibration services with helicopters: in line with the AeroFIS product family based on AeroFIS hardware modules with proven reliability and availability all over the globe based on ...
AERODATA AG
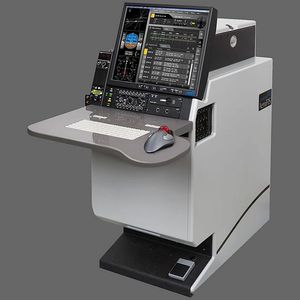
... or validation can be inspected by AeroFIS® Key Features: • Highest accuracy and integrity leading to reliable fl ight inspection results • Proven reliability and availability all over the globe • Customized solutions ...
AERODATA AG

With the new glass inspection system, temperature differences during glass hardening processes can be quickly detected, thus avoiding rejects and providing automatic quality monitoring. The Top Down GIS 640 R system ...
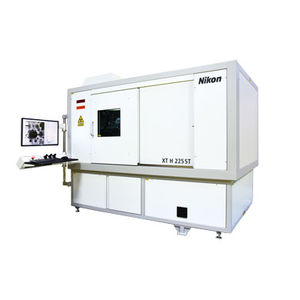
... Stunning images providing maximum insight High performance image acquisition and volume processing Straightforward inspection automation Safety by design Low cost-of-ownership
Nikon
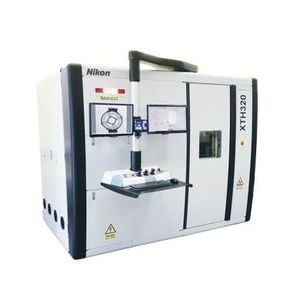
... computed tomography XTH320The XT H 320 features a more powerful microfocus X-ray source that is able to run highly accurate inspection on dense industrial objects. Nikon Metrology is the only company to produce 320 kV ...
Nikon
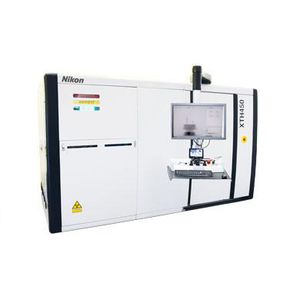
... reduction. 450 kV and the CLA are ideal for the inspection of small to medium metal alloy turbine blades and casted parts. Benefits Proprietary 450 kV microfocus X-ray source Run highly accurate inspection ...
Nikon
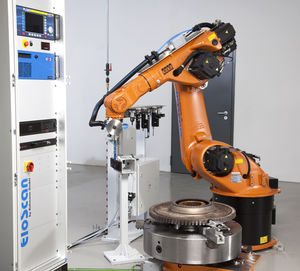
... for universal applicationsThe EloScan-system has been designed mainly for the eddy-current inspection of rotationally symmetrical components of aircraft engines. Due to its very universal ...
Your suggestions for improvement:
the best suppliers
Subscribe to our newsletter
Receive updates on this section every two weeks.
Please refer to our Privacy Policy for details on how AeroExpo processes your personal data.
- Brand list
- Manufacturer account
- Buyer account
- Our services
- Newsletter subscription
- About VirtualExpo Group


Please specify:
Help us improve:
remaining